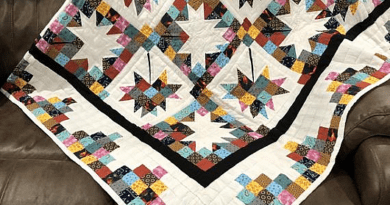
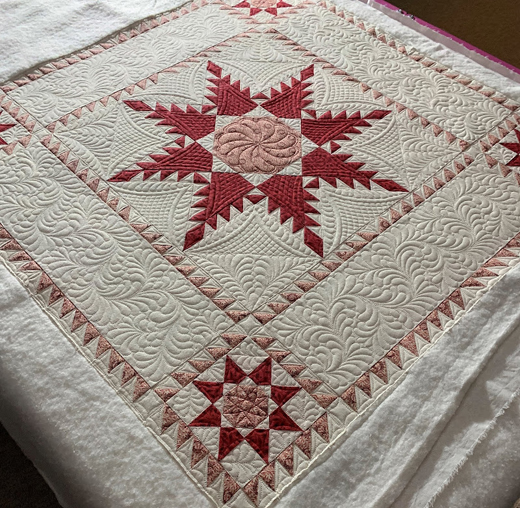
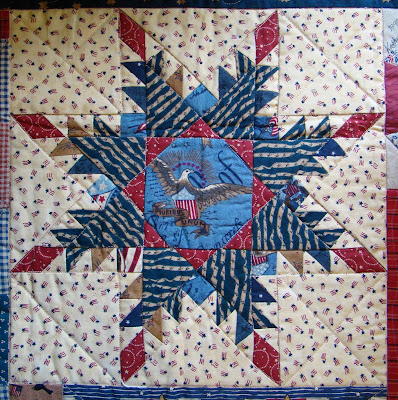
The Feathered Star Quilt Pattern
A quilting pattern that features a star motif on a background of feathers. This quilt was designed by artist and author Linda K. Johnson for her book “Feathered Stars.” The book includes instructions for making this quilt along with other patterns in the series.
Choose Fabric Colors.
You will need to choose fabric colors that complement each other. If you use too much of one color, the design won’t work as well. The quilt pattern shown here uses four different fabrics. Each block has two layers of fabric, which means there are eight pieces total. To create the star shape, cut strips from each layer of fabric. Cut them into 2 1/2″ squares. Sew the strips together to form the blocks.If you want to use a variety of colors in your quilt, choose fabrics that coordinate well with one another.
For example, if you plan to use red, orange, yellow, green, blue, purple, pink, and brown, then you should choose fabrics that match those colors. You can also mix and match patterns. For instance, if you love birds and flowers, you could combine a bird print with a flower print. Or, if you prefer geometric shapes, you could use a solid color with a floral design.When choosing fabric colors, think about what you want your finished project to look like. Do you want it to be bright and cheery? Or would you rather go for something more subdued? Also consider the size of the piece you’re making. A large quilt might require a lot of different fabrics, while a smaller quilt might work better with fewer colors.
The first step in creating a feathered star quilt is selecting the right fabrics. You’ll need at least three different shades of each color. For example, if you choose red, orange, yellow, green, blue, purple, pink, and brown, you’ll end up with nine different fabrics. If you’d prefer to use fewer colors, try using two or three shades of one color.
Sew Fabric Together.
To sew the feather stars together, start by cutting out two pieces of fabric for each star. Then fold them in half lengthwise with wrong sides facing each other. Pin them together at the center point. Stitch along the edge of the fabric, leaving an opening for turning. Turn right side out through the opening. Press flat. Repeat steps 1–4 for the remaining nine stars. The quilting pattern used here is called Feather Stars. You can find instructions for making this quilt pattern here.
If you want to sew fabric together without using a sewing machine, try using a rotary cutter and ruler.
These tools allow you to cut straight lines and curves into fabric easily. To use them, first fold your fabric in half lengthwise. Next, place the ruler on top of the fabric and align the edge of the ruler with one of the folded edges. Use the rotary cutter to cut along the line marked on the ruler. Repeat this process until you’ve sewn all of the pieces together.
The best thing about this project is that it’s easy to learn. You’ll be able to create beautiful quilts in no time at all. Plus, if you’re new to sewing, this project is a great introduction to the basics.If you’ve ever wanted to sew fabric together, then this tutorial is for you. In fact, it’s one of the easiest projects we’ve seen on the site. All you need is some fabric scraps, thread, and a needle.
And once you get started, you’ll find yourself creating a gorgeous feathered star quilt in no time.The first step is to cut two pieces of fabric into strips. You want them to be at least 4″ wide, but if you’re feeling ambitious, go ahead and make them 5″. Next, fold each strip in half lengthwise and press the creases flat. Now, take one of the folded strips and stitch it to the other piece of fabric using a straight stitch. Repeat this process until you’ve sewn all four sides of the fabric together. Once you’ve finished sewing, turn the fabric right side out and stuff it with fiberfill. Finally, use a needle and thread to attach the top and bottom points of the star.You can download the PDF file by clicking here.