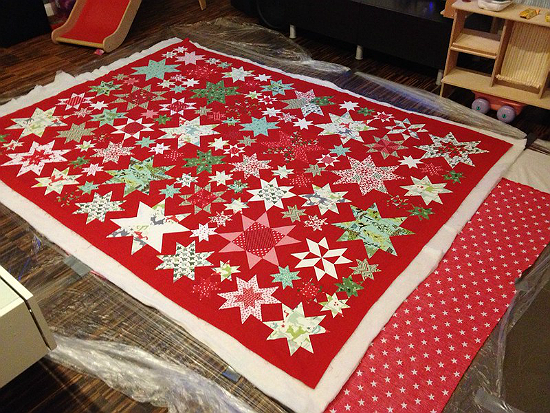
Sawtooth Star Quilt
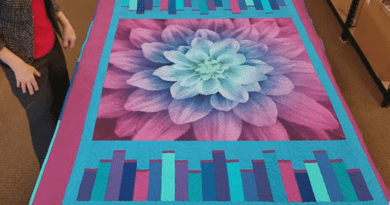
Hello my loves, this is Mommy speaking, what a joy it is to be able to talk to you here again. Today we bring you another quilt pattern, a pattern that warms our hearts for better days, a pattern for next Christmas. This stunning quilt is created from several star blocks, each in three different sizes. The variety produces a striking quilt that you will be proud to call your own.The Christmas colors are simply wonderful against a red background. Other colors are equally beautiful. Have fun combining your favorite colors for your own striking version.
We have included some examples below to get you started.What makes this quilt so unique is that you can choose the blocks you prefer to make, and their sizes, along with the number of blocks you wish to combine for your own composition. The finished quilt can be any size you want it to be.Isn’t that wonderful. You have the chance to assemble the quilt according to your own preference. It has been a complicated year, because of all the changes this world has gone through, but we are convinced that better days are ahead. Isn’t that so? So let’s make together a wonderful pattern for a wonderful Christmas. Okay, this quilt you will be able to access the step by step tutorial. That you will be able to assemble easily.
Let’s go step-by-step for a block: The quilt top consists of stars in 3 sizes: 12″, 8″ and 4″. In the end, you’ll need the following numbers of each size:In this post I’ll be showing you how to construct the most basic star, without any fancy-schmancy piecing of either the centres or the points. (That will come later on…) For each star, you will need ten (10) pieces, and the dimensions for each star size are shown below: The first step is to construct the points, which are actually four (4) flying geese units. There are many ways to construct geese units, but for a simple star this is my favourite method for two reasons: it doesn’t result in left-over triangles, and I find that it produces the most accurate geese units.
Start by marking the back of the squares which will become the star points. You can either mark a single line down the centre, if you have a really accurate 1/4″ foot for your machine, or you can mark 1/4″ on each side of centre if you don’t. I fall into the latter camp. Then pin two (2) of the squares to the large square of background fabric, right sides together, making sure to line up the marks you made.Be sure that when you sew that you use SCANT 1/4″ seams.
It will make a big difference to the accuracy of your block. I find that if I stitch right beside my marks that the final block is the most accurate.Next, you want to cut down the centre between your two seam lines to produce two (2) separate pieces.Then press both parts. Personally, I prefer to press seams open, but whatever you prefer will be fine. I know that everyone has an opinion on this particular point!In order to cut down on some of the bulk where all the seam allowances join, it helps to cut a bit out at this stage. So trim out the parts of the seam allowance that overlap. (You can also see the difference in the two parts in the photo above.)
Now pin the remaining two small squares of foreground fabric to the larger units that you’ve just pressed, and repeat the sewing, again using scant 1/4″ seams. Once you’ve finished sewing, cutting down the centre between the seams and pressing, you should be left with four (4) geese units, without any waste! Trim up the geese units, and then attach all the parts in three rows. You will have a top and a bottom row made of one (1) geese unit and two (2) small squares of background fabric, and a middle row of two (2) geese units and one (1) large square of foreground fabric. Quilt is our passion. Good job. Here we have the complete pattern for you.
SEE TOO : Patchwork Posies Quilt