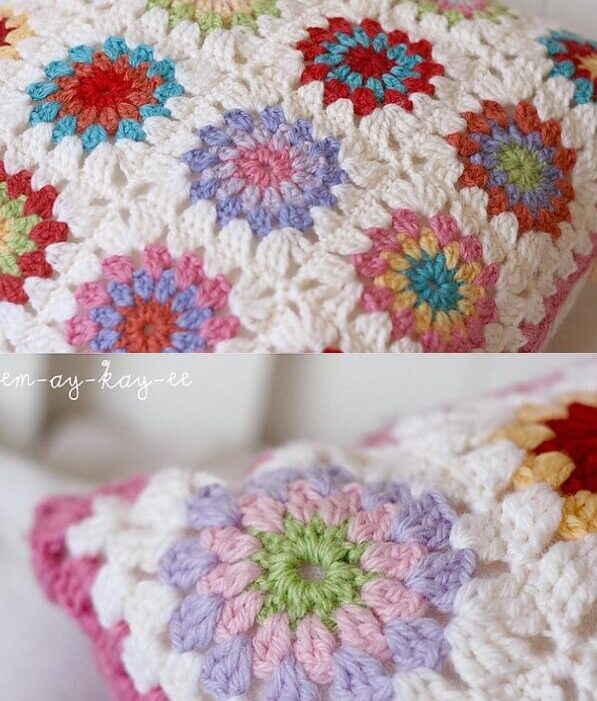
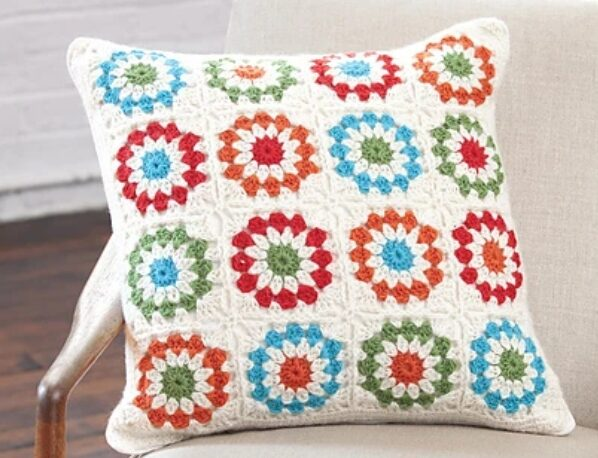
Copenhagen Pillow Crochet Pattern
Make your own unique pillows with this crochet pattern for a Copenhagen Pillow. Learn the tips, tricks and techniques necessary to create a beautiful one-of-a-kind piece for your home. With some patience and practice, you’ll be able to craft an exquisite handmade pillow that will add a special touch to any room in your house.
Before starting the project, make sure you have all of the supplies needed. You will need a crochet hook in size G (4.00 mm), tapestry needle, two same-size pillow forms, worsted weight yarn, scissors, and stitch markers to mark each round. All of these materials are easily found at any craft store. Once you’ve gathered your supplies it’s time to get started!
The construction of this Copenhagen Pillow includes several rounds of double crochet stitches with the addition of a contrasting border. Start by chaining an even number of chains that is two or three times the circumference plus an extra four to six chains depending on how loosely or tightly you crochet. Work one double crochet in each chain until reaching the end and join in round with slip stitch. It’s also suggested to insert stitch markers at the beginning and end of each round for easy navigation throughout your project. Follow the pattern instructions for exact measurements and details that bring this impressive pillow to life!
Begin the project by making a chain of 75 stitches. Work in single crochet for the length of the chain until you have created a rectangle, using stitch markers to mark off each round. When you are finished you should have a base for each pillow that is roughly 18 inches wide and 30 inches long.
Once you have finished your rectangular base, continue to work around the rectangle with one round of single crochet in each stitch. This will create a border that will help to hold the shape of the pillow together. As you are working, be sure to make 3 increases evenly spaced along each side so that your pillow form will maintain a neat and even shape when it’s finished. When you have added this round, finish off your yarn and weave in the ends. At this point, both sides should be ready for stuffing and crafting!
With the base of your pillow complete, start to create the crocheted design. This can be done through a variety of methods such as making fan shapes, daisies, stars, or any other design that you choose. Use colorful yarns to make interesting contrasts and highlights. Be sure to keep track of the number of stitches so your pattern comes out evenly and accurately.
To finish off your Copenhagen pillow, attach the buttons and tassels. Use a needle and thread to sew the tassels onto the back of the pillow in different places. You can also use fabric glue if you prefer! For the buttons on the front, you can choose how many to add—just remember not to overload it too much! Arrange them along your crochet pattern for an eye-catching finishing touch.
Now that your Copenhagen pillow is all finished, it’s time for the fun part—decorating! Choose from a selection of trims to adorn your new creation. Hand-cut fringe or floral ribbon can create a beautiful effect around the edge of the pillow. Add a few beads for a hint of sparkle, or use fabric paint to make intricate designs on the crochet stitches themselves.
After you’ve completed the assembly and chosen a trim, it’s time to finish up your new Copenhagen pillow. Using two strands of matching yarn and a sharp yarn needle, go around the entire border of the pillow twice with a simple slip stitch or blanket stitch. Tug lightly on each stitch after you’ve completed it to secure the trim in place. Give your hard work one last inspection before proudly displaying your beautiful new Copenhagen crochet pillow in any room in your home.