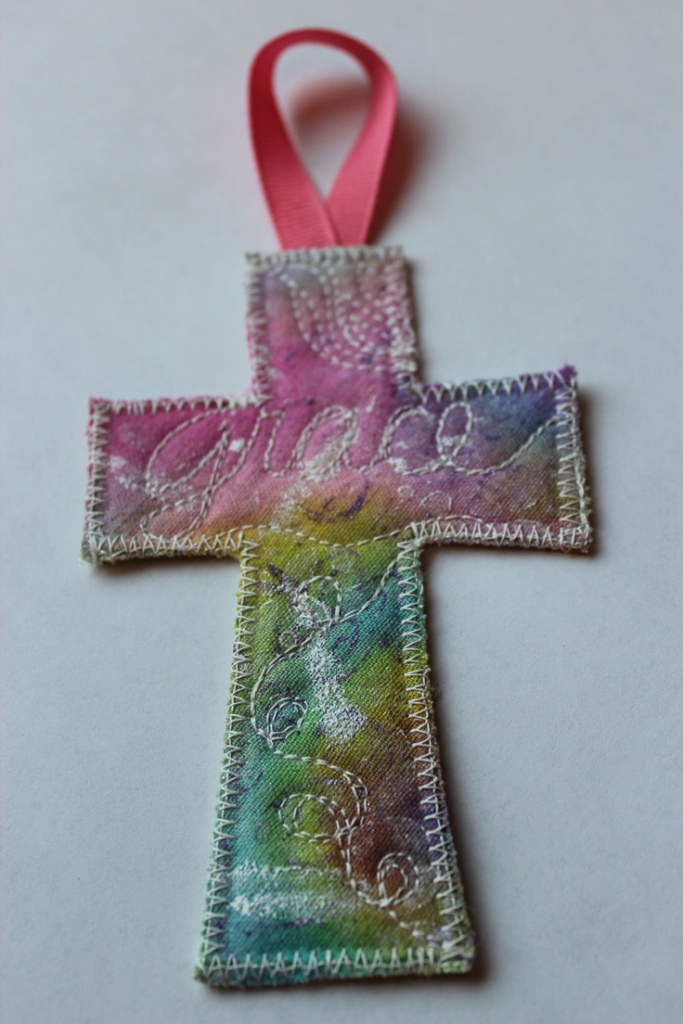
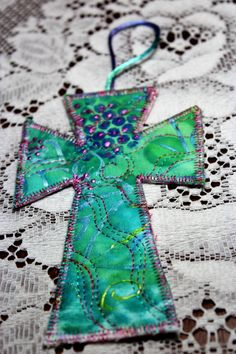
Quilt Cross Fabric Pattern – Tutorial For Beginners
Crafting beautiful quilts is easy and fun with the quilt cross fabric pattern technique! This technique is perfect for beginners and can help you create a variety of quilts with stunning designs. Learn how to use this versatile technique and discover unique ways to incorporate it into your quilting projects.
Gather 6 coordinating fabrics for the project.
Before you begin the quilting process, you’ll need to gather 6 coordinating fabrics for the project. Select fabrics in complimentary colors and designs for best results. After selecting your fabrics, plan out your design by sketching it out on paper or using a graph-based quilt maker software program. This will help you visualize the finished product before jumping into the sewing process.
Cut all six fabrics into 12”x12” squares.
After selecting your fabrics, begin by cutting all six fabrics into 12” x12” squares with a fabric rotary cutter. When you cut the fabric, make sure to use straight lines and careful measurements for best results. This will ensure that all of your pieces are the correct size for the quilting process. Be sure to also leave a ¼ inch seam allowance around each square to allow for precise stitch seams when sewing later.
Once all of your fabric squares are cut, you can begin to arrange them on the quilt. Always organize your design with an even number of fabrics, alternating each one. This will ensure that none of the fabrics are side-by-side in finished blocks. The cross fabric pattern traditionally follows a two-over-two design: the first square should be corner-to-corner on the top right hand corner, and then each additional square should alternate in position (e.g., top left, bottom right, bottom left).
Sew two squares of each fabric together to create 8 pattern blocks with a total of 48 pieces.
Begin stitching together the pieces, pairing two squares of fabric together (one in each set of three). Sew the two squares together, right sides facing, then press carefully. When you’ve finished pressing all eight pattern blocks, measure and pin them as needed to ensure that they are 12”x12”. Make sure each seam is opened up flat for accurate measurement when piecing the quilt later. Once pinned, stitch around all sides with a ¼ inch seam allowance.
Sew four squares from the same fabric together to make a star shape, then continue till you have 9 stars in total (2 from each fabric).
To complete the quilt pattern, you will need to join each of the stars set comprised of four pieces together. Before joining the stars, press all seams open. To join them, start from one corner and sew around all sides with ¼ inch seam allowance. Continue till you have made 9 stars in total (2 from each fabric). Once done, trim away any excess fabric for a neat finish.
Lay out quilt design; stitch stars and pattern blocks together in a cross-like sewing pattern for the quilt top.
After the stars have been completed, it’s time to lay out the quilt design. For this pattern, position the stars and pattern blocks in a traditional cross-like sewing pattern for the quilt top. Sew them together with a ¼ inch seam allowance. Press all seams open after stitching to ensure everything lays flat when quilting is complete. You can stitch additional appliques or fabric pieces as per your desired quilt design if you like! There are a few tips to keep in mind while laying out your precut pieces for the quilt top. To begin, try assigning a color palette for the finished quilt cross fabric pattern. Depending on what colors you chose, layout the stars and pattern blocks with complementary colors to create balance within the quilt design. If wanting to add patches or appliques, as mentioned, consider their size and shape when placing them strategically throughout the cross design. These thoughtful steps help ensure an even balanced look of the entire quilting project when completed.