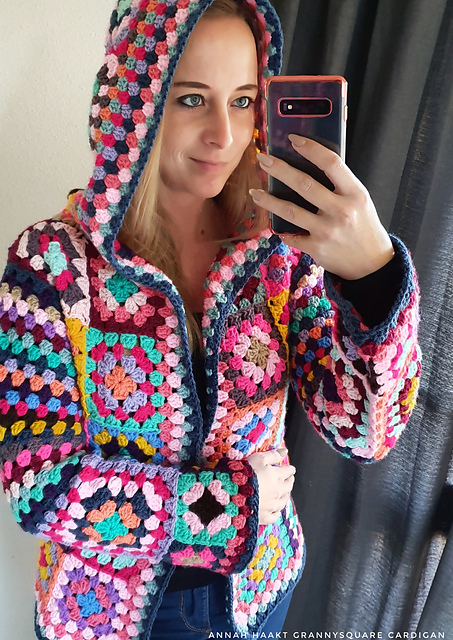
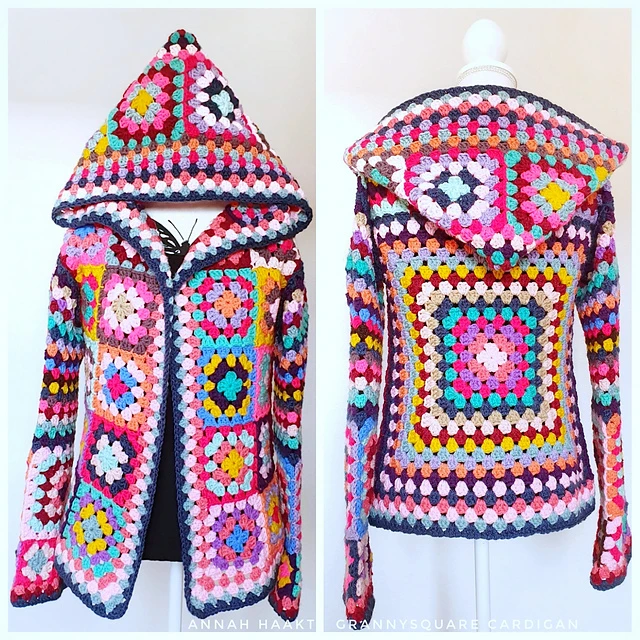
Crochet Granny Square Cardigan
Make a fashion-forward statement with this special granny square cardigan! With the combination of classic crochet techniques and modern style, this statement piece of outerwear is sure to turn heads. Learn how to create one of your very own!
Learn the Basics of Crochet Granny Square Pattern.
To create the perfect granny square cardigan, you’ll need to learn the basics of crocheting a granny square. Start by learning how to chain and make single crochet stitches. From there, use this same technique to expand your rows of granny squares until you reach the desired size of your cardigan. As you work, remember to keep your tension even for best results – alternatively, a looser stitch can also be used for a relaxed look.
Assemble Your Sleeves and Neckline.
The next step in creating your granny square cardigan is to assemble the sleeves and neckline. For a seamless look, begin by joining your granny squares along the edges of both the sleeves and neckline. As you continue to join them together, make sure that you are crocheting in a circular manner around each piece. To ensure an even stitch count as you crochet, use a tapestry needle to keep check and adjust as necessary. Once all pieces have been joined together, secure the last stitch and cut off any excess yarn.
To ensure a neat finish for your granny square cardigan, use a seamless join to connect the shoulder seams. For this, start by aligning the sides of each shoulder together and securing them with two stitches. Once you are done, slip stitch through both sides at the same time to create a seamless join that looks smooth and will be strong enough to withstand wear. Lastly, you can use scrap yarn pieces to tidy up any gaps along the neckline and armholes. With this step complete, you can now move on to crocheting the ribbed bands!
Connect the Panels and Finish Off Your Cardigan.
Now that the sleeves and neckline are assembled, join them together by crocheting around the edges of the cardigan. Start at one of the sleeves, and continue to work your way around until you reach the beginning point again. Join each granny square along the outer corners, making sure to keep an even count for your stitches. Finally, when all panels are connected securely, tie off the last stitch and weave in your ends. Congratulations – you’ve just finished creating a modern crochet granny square cardigan!
But don’t stop there – have fun with your cardigan by decorating it with colorful pom-poms or whimsical buttons. Add fringe for a 70s style piece, or leave the design as is for a more timeless look. Change up colors from square to square, and create patterns in the squares to get an intricate, one-of-a-kind effect. The possibilities are endless when it comes to granny square crochet – so don’t be afraid to let your imagination run wild!