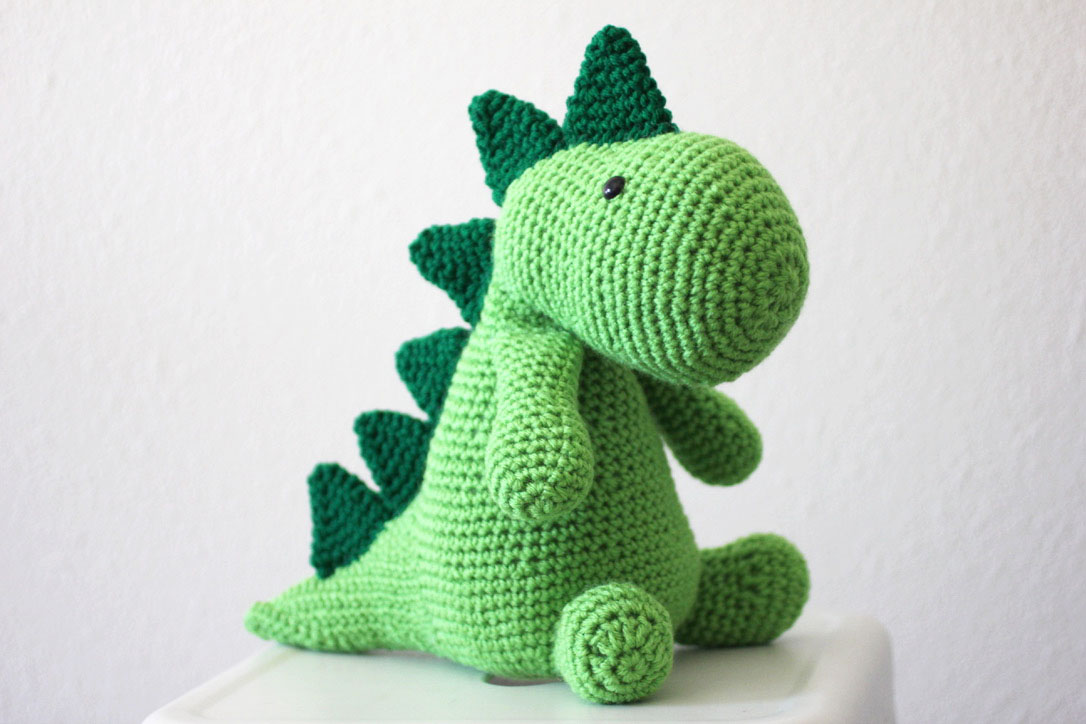
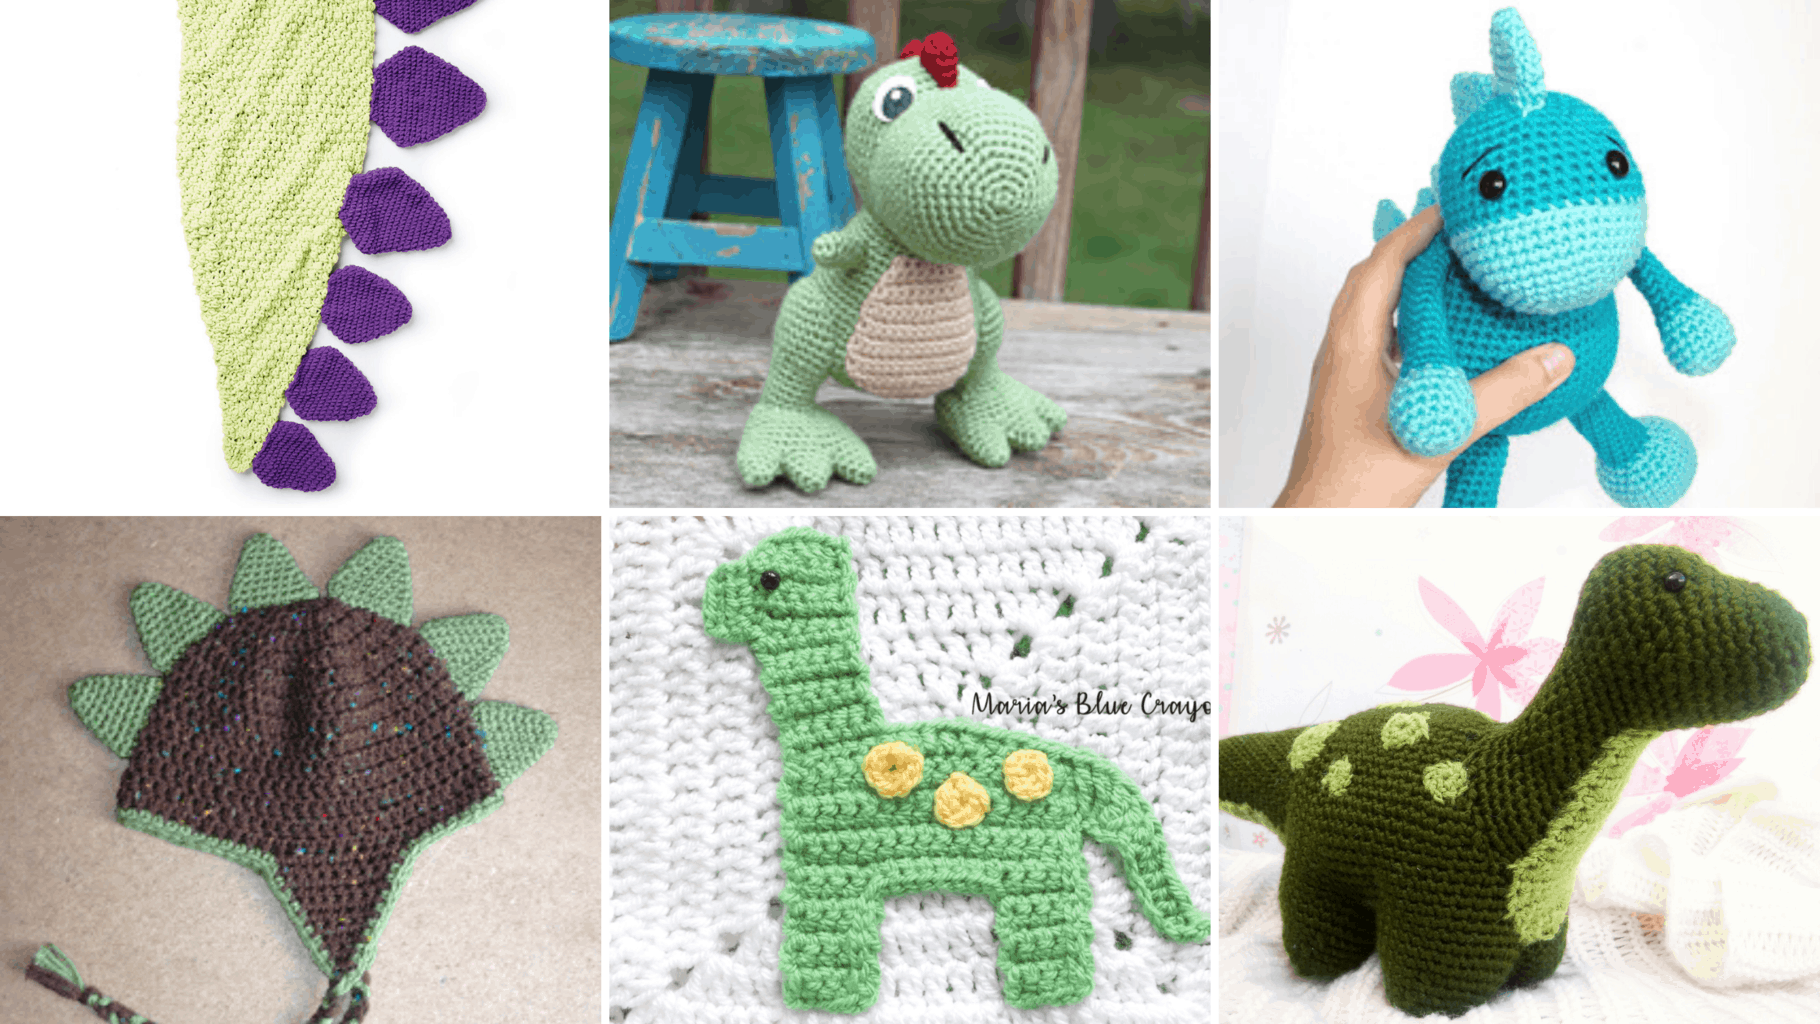
Free Crochet Pattern for Dinosaur
Hello beloveds and beloveds welcome to Crafts Mommy, what a joy to talk to you and today we are going to talk about a beautiful project. Crochet Pattern for Dinosaur – A crochet pattern for a dinosaur made from recycled materials. This crochet pattern for a dinosaur was created by using old plastic bottles and other recyclable items. The finished product measures approximately 10 inches long.
Materials Needed
You will need:
• Old plastic bottles (as many as you can find)
• Scissors
• Yarn
The first step is to cut off the bottom of each bottle. Next, use scissors to carefully remove the label from one side of the bottle. Now, take a look at the inside of the bottle. There should be a little bit of space between the top and the bottom of the bottle. If there isn’t enough room, then you’ll need to trim some of the plastic away. Once you’ve trimmed the plastic away, you’re ready to start crocheting.
Instructions
This project was inspired by my love of dinosaurs and how I would love to see them back in our world. They were so cute! So I decided to make one myself. It took me a while to figure out what kind of dinosaur I wanted to make, but I finally settled on a T-Rex.
The instructions for this crocheted dinosaur are very easy to follow. You simply crochet around the body of the dinosaur using chain stitches. Once you reach the end of the body, you then crochet a tail onto the bottom of the dinosaur. Crochet two sets of three chains for each leg. Make sure to leave enough room between the legs so that you can insert the arms later. Finally, crochet the head onto the top of the body.
If you want to learn how to crochet a dinosaur, this tutorial is a great place to start. The instructions are simple and straightforward, and there are plenty of pictures to help guide you through the process.
This project uses yarn dyed with natural dyes and includes instructions for making the body, legs, tail, head, and eyes.
You will need:
• 1/2 yard (45 cm) of worsted weight yarn
• Yarn needle
• Scissors
The Dinosaur Crochet Pattern is designed to be easy enough for beginners to follow, while still being challenging enough for experienced crocheters. The instructions include step-by-step photos and illustrations, which makes learning how to crochet a dinosaur much easier than if you were simply reading written instructions. The Dinosaur Crochet Project is one of those projects that you can easily whip up in a weekend, then enjoy for years to come. You can use different colors of yarn to create a variety of dinosaurs, such as a blue dinosaur, a green dinosaur, or a purple dinosaur. If you want to add some extra detail to your dinosaur, try using buttons instead of eyes.
There are many ways to dye yarn, but most require a lot of work and patience. Natural dyes, however, are easy to find and take less than 30 minutes to prepare. To get started, simply mix equal parts water and vinegar into a bowl. Add 1/2 cup of salt to the mixture and stir until dissolved. Next, add 2 cups of boiling water to the bowl and let cool slightly. Once cooled, add the yarn to the solution and leave it in the bath for at least 10 minutes. After 10 minutes, remove the yarn from the solution and rinse thoroughly under cold running water. Repeat this process two more times before hanging the yarn to dry. When the yarn has dried completely, cut off the excess length and tie the ends together.
This project was inspired by my love of dinosaurs and my desire to make something beautiful out of trash. This project was inspired when I saw a picture of a dinosaur made from old tires. It looked so cool and I wanted to try to make one too. So I did!The first step was to find some old tires. I found them at a local recycling center. Next, I needed to cut them into pieces. I used a hacksaw to cut them into smaller pieces. After cutting them into pieces, I had to remove the rubber bands and then put them back together again. Once I got the tires back together, I started making the body of the dinosaur.
I used a piece of cardboard to help me keep everything straight while I was crocheting. When I finished the body, I added the head and tail. I used a needle and thread to sew the head onto the body. I used hot glue to attach the legs to the body. Finally, I glued the arms onto the body. Now I have a very cute dinosaur toy.I am a huge fan of dinosaurs. I think they are really cool. I wanted to make a dinosaur toy because I thought it would be fun to play with. My mom bought me a little plastic dinosaur from Walmart.
I loved playing with him, but he broke after a few months. I decided to make one myself using recycled materials. I hope you enjoy making this craft as much as I enjoyed making it.The first thing I did was take apart the plastic dinosaur and cut off his head. I then took the pieces and glued them back together. Next, I used some old yarn and crocheted a body for the dinosaur. I added a tail at the end. Finally, I painted the dinosaur green. Now, I know what you might be thinking. You might be wondering why I didn’t use real yarn instead of old yarn. Well, I chose to use old yarn because I wanted the dinosaur to look rustic. If you want to make a realistic looking dinosaur, you should use real yarn. However, if you want to make a dinosaur that looks like it came straight out of Jurassic Park, you should use old yarn. It was a pleasure talking to you, now it’s up to you. Crocheting is our passion. Until next time.
SEE TOO : Salt Air Lattice Quilt